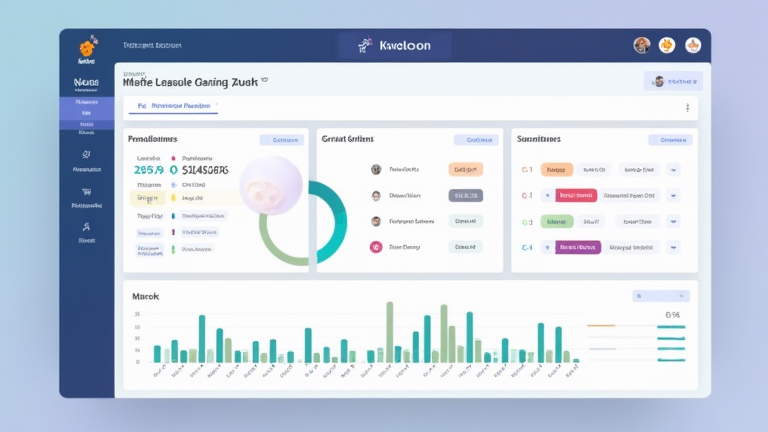
TL;DR: Build a single Notion page that aggregates your calendar, tasks, goals, and habits into one glanceable hub. Use linked databases, synced blocks, and formulas to automate status and priorities.
Step 1: Create Your Master Page & Layout
Open Notion and create a new page titled “Personal Dashboard.” In the page body, type /columns and choose 2 columns. In the left column, you’ll place your “Today’s Focus” and “Quick Links.” In the right column, you’ll embed your live databases. This split keeps critical info visible without scrolling.
If you want to dig deeper, check out our guide on Managing Unreliable Caregivers: Tips for Home Care Agency Ow.
Step 2: Add a “Tasks” Database (Inline)
Type /database and select “Database – Inline.” Name it “All Tasks.” Add properties: Status (select: Not Started, In Progress, Done), Due Date (date), Priority (select: Low, Medium, High), and Tag (multi-select). For each task you add later, set the status. To filter the dashboard view, click “Filter” → “Status” → “Is Not” → “Done.” This hides completed tasks automatically.
Step 3: Build a “Habits” Tracker
Below the tasks database, create a second inline database named “Habits.” Add a Date property (date) and a Checkbox property called “Done.” Each day, add a row with the date and tick the box. For a weekly summary, create a linked view (click “+” under the database → “Linked view of database”) and group by Date.
Step 4: Embed Your Calendar
In the right column, type /calendar and select “Calendar – Inline.” Link this calendar to your “All Tasks” database by clicking the “…” menu → “Link to database” → choose “All Tasks.” Now, any task with a Due Date appears on the calendar. Toggle the calendar to “Month” view for a bird’s-eye overview.
Step 5: Add a “Weekly Goals” Section
Above your tasks, create a toggle block (/toggle) titled “Weekly Goals.” Inside, use bullet points to list 3–5 objectives. To make these actionable, link each bullet to a filtered view of your tasks database (e.g., @ mention a task). This turns vague goals into trackable items.
Step 6: Insert a Formula for Progress
In your “All Tasks” database, add a Formula property. Type this code: if(prop("Status") == "Done", 1, 0). Then create a “Progress” rollup property in a separate summary block. Alternatively, use a simple /progress bar block and manually update it weekly. For automation, use Notion’s “Button” block (type /button) to set all “In Progress” to “Done” with one click.
Step 7: Personalize with Quick Links & Notes
In the left column, add a “Quick Links” callout (/callout). Paste links to your email, calendar, and favorite playlists. Below that, add a “Daily Note” block (/callout again) with a date and a free-text space for journaling. Keep this minimal—dashboards fail when overloaded.
Tips for Long-Term Use
1. Set a weekly review reminder (use /reminder on the page). 2. Duplicate the page each month as an archive. 3. Use dark mode to reduce eye strain. 4. Add a “Focus Timer
Leave a Reply