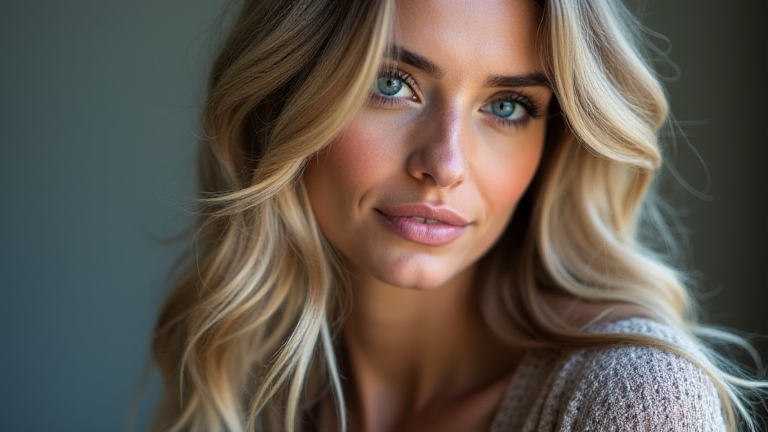
Mastering Lightroom Presets: A Step-by-Step Editing Guide
TL;DR: Lightroom presets are pre-saved sets of adjustments that apply instant aesthetic changes to your photos. To master them, you must understand the underlying sliders so you can fine-tune results for specific lighting conditions and subjects.
Step 1: Understanding the Basics of Presets
Before diving in, it is crucial to grasp what a preset actually is. Think of a preset as a snapshot of the settings in the Develop module. When you apply a preset, Lightroom copies parameters like exposure, contrast, color grading, and tone curves to your active image. They do not alter the file structure or add external layers; they simply tell the software how to interpret the raw data. Understanding this distinction helps you realize that a preset is a starting point, not a final destination. High-quality presets are designed to be flexible, allowing for significant manual adjustment after application.
If you want to dig deeper, check out our guide on AI Firms Pour $265M Into Midterms Amid Data Center Backlash.
Step 2: Installing Your Presets
Most modern versions of Lightroom Creative Cloud allow you to install presets easily. Download your chosen preset files, which are usually contained in a .zip archive. Extract these files to a local folder on your computer. Open Lightroom and navigate to the Presets panel on the left-hand side. Click the three-line menu icon at the top of the panel and select “Import Presets.” Browse to your extracted folder and select the .xmp files or the entire folder. Once imported, you will see your new presets appear in the list, often organized into custom collections.
Step 3: Applying and Adjusting
Select the photo you wish to edit. In the Presets panel, find your desired preset and click on it. You will notice an immediate change in the image’s look. However, this is where most beginners stop, resulting in flat or unnatural images. Instead, you must now fine-tune the settings. Use the Basic panel to adjust the exposure if the image is too bright or dark. Check the white balance, as presets often assume a specific color temperature. Look at the Highlights and Shadows sliders to recover detail that might have been lost. This step is critical because no two photos have identical lighting conditions.
Step 4: Refining Color and Tone
Move to the HSL/Color panel. Presets often apply a specific color cast, which may not suit every subject. Adjust the Saturation and Luminance of specific colors to make them pop or recede. For example, if you are editing a landscape, you might increase the Luminance of blues to make the sky more vibrant. Next, check the Tone Curve panel. A preset might have added contrast, but you may need to lift the blacks slightly for a softer look or deepen them for a more dramatic effect. This level of detail separates a generic preset look from a professional edit.
Step 5: Saving Your Custom Adjustments
Once you are satisfied with the look of your photo, consider creating your own preset from this adjusted state. Click the plus icon in the Presets panel and choose “Create Preset.” Check all the boxes for the settings you want to save. Name it descriptively, such as “Warm Sunset Landscape v2.” This allows you to replicate your perfect edit on similar photos in the future, saving you significant time. Over time, you will build a library of presets that reflect your unique style.
Pro Tips for Better Results
Always use a neutral or standard development preset as a base before applying a creative preset. This ensures you are starting from a consistent point. Be mindful of skin tones; many presets shift colors globally, which can make skin look orange or green. Use the Targeted Adjustment tool to correct skin tones specifically. Finally, edit in 16-bit mode if possible, as this provides more tonal range and flexibility when making drastic adjustments. Remember that a preset is a tool, not a crutch. The best edits always involve a human eye guiding the final look.
FAQ
<
Leave a Reply