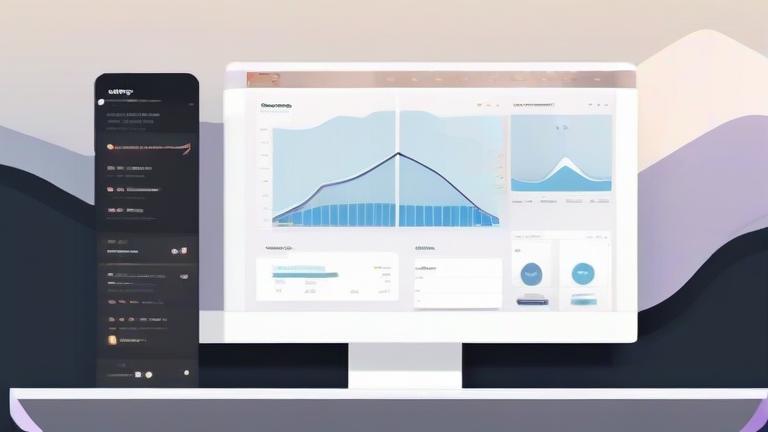
Notion Tutorial: Build Your Ultimate Project Dashboard
TL;DR: Create a centralized Notion page with linked databases for tasks, timelines, and resources. Use views like boards, calendars, and tables to visualize progress and assign responsibilities effectively.
Step 1: Structure Your Core Databases
Begin by creating a new Notion page titled “Project Hub.” Inside, create three separate databases: “Tasks,” “Deadlines,” and “Resources.” Each database should have specific properties. For “Tasks,” include properties for Status (Select), Priority (Select), Assignee (Person), and Due Date (Date). This granular structure allows for powerful filtering and sorting capabilities later. Ensure that each task is linked to the main project overview so you can track dependencies easily.
If you want to dig deeper, check out our guide on Oral-B iO Series: The Premium BIFL Toothbrush.
Step 2: Design Visual Views
Navigation is key to a usable dashboard. Create a “Kanban Board” view of the Tasks database, grouped by Status. This provides a clear visual flow from “To Do” to “Done.” Next, add a “Calendar” view to see deadlines at a glance. Finally, create a “Table” view for detailed data entry. Use the “Filter” feature to show only high-priority items in a specific section of your dashboard. This prevents information overload while keeping critical items visible.
Step 3: Enhance with Templates and Automations
Efficiency comes from reducing repetitive work. Create a button or template called “New Task” that pre-fills common fields like project name and default priority. Additionally, set up reminders for upcoming deadlines using Notion’s built-in date properties. If you use Notion AI, leverage it to summarize task descriptions or generate meeting notes directly into the project page. Regularly review your dashboard layout to ensure it remains intuitive as the project evolves.
Pro Tips for Success
Keep your dashboard uncluttered by using sub-pages for detailed notes rather than cluttering the main view. Use color-coding consistently across all databases to help the team quickly identify priorities. Remember that a dashboard is a living tool; it should adapt to your team’s workflow, not restrict it. Test the layout with a colleague to ensure it is user-friendly for all stakeholders. Clear labeling and consistent formatting are the hallmarks of an effective project management tool.
FAQ
Q: How many databases should I include in my dashboard?
A: Start with three to four core databases like tasks, meetings, and resources. You can add more as needed, but avoid excessive complexity that slows down navigation.
Q: Can I share this dashboard with clients?
A: Yes, you can share specific pages or the entire workspace with read-only permissions. This allows clients to track progress without editing your internal data.
Q: Is there a limit to the number of views per database?
A: Notion does not impose a strict limit on views. You can create as many as needed, but keep only the most relevant ones visible to maintain clarity.
Leave a Reply