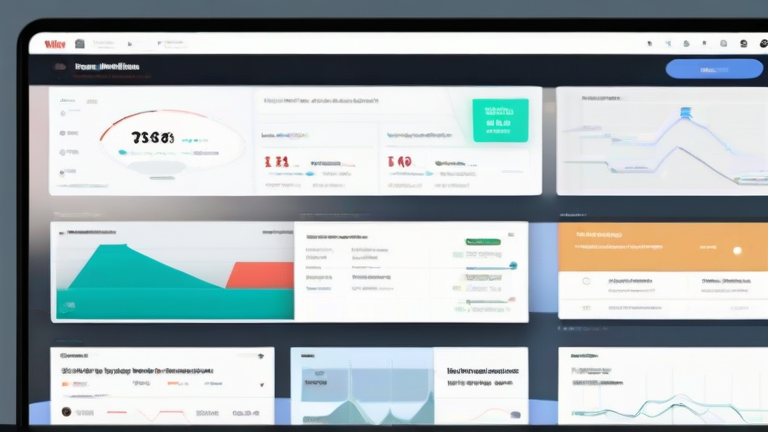
TL;DR: Build your ultimate Notion project management dashboard by creating a central database with views for Kanban, Timeline, and Calendar, then linking it to a main page with filterable sub-pages. Customize properties to track status, priority, and deadlines to ensure clarity and efficiency for your entire team.
Step 1: Create the Core Database
Start by opening a new blank page in Notion and naming it “Master Project Hub.” Click the slash command (/) and select “Table View Database.” This central repository will hold all your tasks, projects, and sub-tasks. Rename the default “Name” column to “Task/Project Name.” This single database approach is crucial because it allows you to view the same data in multiple formats without duplicating entries, ensuring that updates reflect everywhere instantly.
If you want to dig deeper, check out our guide on Why the Dyson V15 Detect Is the Best Cordless Vacuum.
2: Define Essential Properties
Click the plus icon to add specific properties that define your workflow. Add a “Select” property for “Status” with options like To Do, In Progress, Review, and Done. Add another “Select” for “Priority” (High, Medium, Low). Create a “Date” property for “Due Date” and a “Person” property for “Assignee.” Finally, add a “Relation” property linking back to this same database if you need to handle sub-tasks, or link to a separate “Projects” database if you prefer a hierarchical structure. Properly defining these fields at the start prevents clutter later.
3: Build the Kanban Board
Switch to the “Board View” by clicking the plus sign next to “Table View.” Set the grouping criteria to the “Status” property. This creates columns for each status. Drag and drop tasks between columns as they progress. This visual representation is perfect for agile teams, allowing you to see bottlenecks at a glance. You can customize the column order to match your actual workflow, ensuring that the visual flow matches your operational reality.
4: Create a Timeline View
Switch to “Timeline View” and set the date range to the “Due Date” property. This view is excellent for seeing overlapping projects and resource allocation. Drag tasks to adjust their start and end dates. Use the zoom controls to switch between week, month, and year views. This helps in long-term planning and identifying conflicts where team members might be overbooked. It provides a Gantt-chart-like experience without the complexity of traditional project management software.
5: Design the Main Dashboard
Return to your main page and create a new section. Use the “Linked View of Database” command to create a filtered view showing only “In Progress” or “High Priority” items. Add a second linked view for “Upcoming Deadlines” using a filter where “Date” is within the next 7 days. Add a third view for “Completed This Week” to celebrate wins. Arrange these blocks vertically. Use dividers to separate sections and add a header for each. This modular approach allows team members to focus only on what is relevant to their immediate needs.
6: Optimize with Filters and Templates
Enhance usability by adding buttons or templates. Create a “New Task” template that pre-fills default values for Priority and Status. Add a “Daily Standup” button that filters the board to show only tasks assigned to the current user with a status of “In Progress.” Use toggles to hide less important properties, keeping the interface clean. Encourage your team to use the “Comment” feature for discussions rather than email, keeping all context within the task page.
7: Share and Automate
Share the page with your team, ensuring everyone has the correct permission levels. Consider setting up simple automations, such as notifying the assignee when a task is assigned or moving a task to “Done” automatically when all sub-tasks are completed. Regularly review the dashboard weekly to archive completed projects, keeping the active view uncluttered. This maintenance habit ensures the dashboard remains a useful tool rather than a digital graveyard of
Leave a Reply