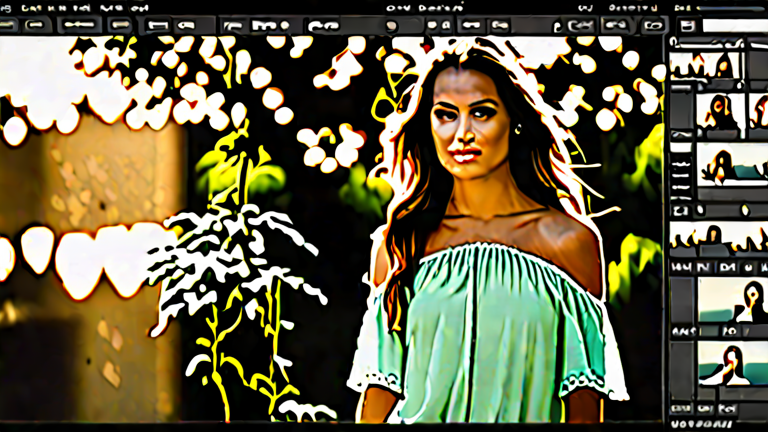
TL;DR: Import your photos into Adobe Lightroom, then use the Develop module to adjust exposure, contrast, and color sliders. Save your changes by updating the catalog or exporting the final image for sharing.
Step 1: Importing Your Images
Before you can edit, you need to get your photos into Lightroom. Open the application and click the “Import” button in the lower left corner of the Library module. Navigate to the folder where your photos are stored on your computer. You can choose to copy the files to a new hard drive, move them, or simply add them to the catalog without moving the original files. Selecting “Add” is often best for beginners to avoid moving data accidentally. Once imported, you will see thumbnails of your images in the Grid view. Use the star or flag ratings to pick the best shots for editing.
If you want to dig deeper, check out our guide on SEO Tutorial: Step-by-Step Guide to Ranking Higher.
Step 2: Adjusting Exposure and Light
Click on a photo to open the Develop module. Start with the Basic panel. The “Exposure” slider controls the overall brightness of the image. If your photo is too dark, increase this value; if it is too bright, decrease it. Next, adjust the “Contrast” slider. Increasing contrast makes the lights brighter and the shadows darker, adding punch to the image. Use the “Highlights” and “Shadows” sliders to recover detail in bright or dark areas respectively. For example, lowering highlights can recover detail in a bright sky, while raising shadows can reveal details in dark corners. Finally, use “Whites” and “Blacks” to set the point where pixels become fully white or fully black.
Step 3: Correcting Color and White Balance
After balancing the light, focus on color. Start by setting the White Balance. Use the Temperature slider to make the image warmer (yellow/orange) or cooler (blue). The Tint slider corrects any green or magenta casts. Once the white balance is set, adjust the “Vibrance” and “Saturation” sliders. Vibrance increases the intensity of muted colors without affecting skin tones, making it a safer choice for portraits. Saturation affects all colors equally, so use it sparingly. You can also use the HSL/Color panel for more precise control over specific hues, such as making only the blues in a sky deeper without affecting other blue objects in the scene.
Step 4: Applying Local Adjustments
Global adjustments affect the whole image, but sometimes you need to fix specific areas. Use the Adjustment Brush to brighten or darken specific parts of the photo. For example, you might want to brighten a subject’s face that is in shadow. Click the Adjustment Brush icon, set your desired sliders (like increasing exposure), and paint over the area. The Graduated Filter is useful for skies. Click the icon and drag from the top of the image downward. This allows you to darken or brighten the sky without affecting the horizon or the rest of the landscape. These tools provide non-destructive control, meaning you can always go back and change your mind.
Step 5: Exporting Your Final Image
Once you are happy with your edits, it is time to save the file. Go to the File menu and select “Export.” In the dialog box, choose your destination folder. For web sharing, select JPEG as the file format and set the quality to high (around 80-85%). If you are printing, select TIFF or high-quality JPEG and ensure the color profile is set to sRGB or Adobe RGB depending on the printer’s requirements. You can also resize the image here if it is too large for your needs. Click Export, and Lightroom will process the image, saving a new version with your edits applied to the file.
FAQ
Q: Does Lightroom delete my original photos?
A: No, Lightroom is non-destructive. It saves edits as metadata in a catalog file. Your original files remain untouched on your hard drive unless you explicitly export or overwrite them.
<
Leave a Reply