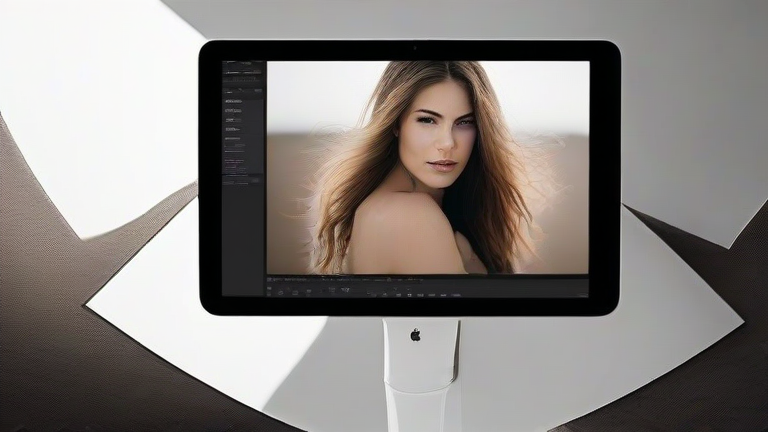
TL;DR: To edit photos in Lightroom, import your image, use the Basic panel to adjust white balance, exposure, and contrast, then fine-tune color and clarity. Finally, apply sharpening and export your file—no need for presets or complex masking to get a great result.
Step 1: Import and Select Your Photo
Open Lightroom (Classic or CC) and click “Import” in the bottom-left corner. Choose your image files from your hard drive or camera card. After import, go to the Library module, click your photo, and press “D” to jump into the Develop module. This is where all editing happens. If you’re on a phone or tablet, the mobile app works similarly—just tap the image to start.
If you want to dig deeper, check out our guide on AI Agents: From Chatbots to Autonomous Workflows.
Step 2: Fix White Balance First
In the Basic panel on the right, look for the “WB” (White Balance) section. Use the eyedropper tool (the little pipette icon) and click on a neutral gray or white area of your photo—this instantly removes color casts. If you don’t have a neutral spot, drag the “Temp” slider toward blue or yellow manually. Tip: Shoot in RAW format so this adjustment is lossless and much more flexible.
Step 3: Adjust Exposure and Contrast
Start with the “Exposure” slider. Drag it right to brighten the whole image, or left to darken. Then move “Contrast” up slightly (e.g., +10 to +20) to make darks darker and lights lighter. Avoid pushing exposure more than +1.0 or -1.0 in most cases, or you’ll lose highlight and shadow detail. Use the “Highlights” slider (drag left) to recover blown-out skies, and “Shadows” (drag right) to lift dark areas.
Step 4: Boost Clarity, Vibrance, and Saturation
Under the same Basic panel, “Clarity” adds mid-tone contrast—use +5 to +15 for a subtle punch, but don’t overdo it on portraits (it can make skin look rough). “Vibrance” boosts muted colors without oversaturating skin tones—start at +10. “Saturation” affects all colors equally; use it sparingly (max +10) unless you want a punchy, stylized look.
Step 5: Fine-Tune with the Tone Curve (Optional)
Click the “Tone Curve” icon (a small S-curve box) near the top of the right panel. Click the center of the line and drag it slightly downward to darken midtones, or upward to brighten them. For a quick contrast boost, create an “S” shape: drag the lower-left point down slightly and the upper-right point up slightly. This adds depth without touching the Basic sliders.
Step 6: Sharpen and Reduce Noise
Scroll down to the “Detail” panel. Set “Amount” to 20–40, “Radius” to 1.0, and “Detail” to 25–50. Zoom to 100% to preview. If your photo is noisy (grainy), increase “Luminance” under “Noise Reduction” to 20–40. Don’t apply sharpening until after you’ve finished all other edits—sharpening is the final polish.
Step 7: Export Your Final Image
Once satisfied, right-click the image and choose “Export” (or press Ctrl+Shift+E / Cmd+Shift+E). Select JPEG as the format, set quality to 80–90, and choose a destination folder. For web use, set “Image Sizing” to 2048px on the long edge. For print, keep the original resolution. Hit “Export,” and you’re done.
Pro Tips for Beginners
• Always edit non-destructively—Lightroom never alters your original file.
• Use the “
Leave a Reply