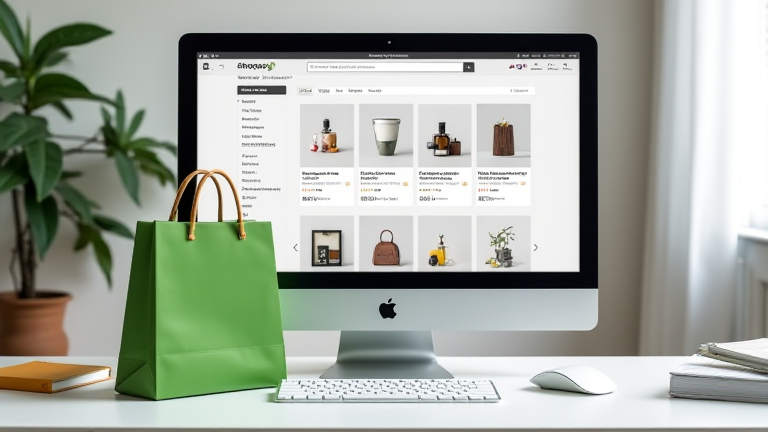
TL;DR: Create a Shopify account, choose a plan, and customize your store theme to reflect your brand identity. Add your products, configure payment and shipping settings, and publish your store to start accepting orders immediately.
Step 1: Create Your Account and Choose a Plan
Start by visiting the Shopify website and clicking the “Start Free Trial” button. You will be prompted to enter your email address and create a password. Once logged in, Shopify will guide you through a brief setup process asking about your business type and goals. This information helps tailor the initial suggestions. Afterward, you will be asked to select a subscription plan. For beginners, the Basic plan is usually sufficient, offering essential features without unnecessary complexity. Remember that you can change plans later as your business grows. Do not worry too much about this decision right now; focus on getting your store structure in place first.
If you want to dig deeper, check out our guide on Trump Ecstasy Pills Deadly Risk: Dutch Alert on Toxic Chemic.
Step 2: Customize Your Store Design
Once your account is active, you will be taken to the admin dashboard. Navigate to the “Online Store” section and then click on “Themes.” Shopify offers several free themes that are mobile-responsive and visually appealing. Choose a theme that aligns with your brand aesthetic. Click “Customize” to enter the theme editor. Here, you can change fonts, colors, and layout sections. Start by replacing the placeholder text with your business name, logo, and tagline. Ensure your homepage clearly communicates what you sell. Use high-quality images for your hero section to grab attention immediately. Keep the design clean and uncluttered to enhance user experience. Mobile optimization is crucial, so preview your theme on a mobile device to ensure everything looks good on smaller screens.
Step 3: Add Your Products
Go to the “Products” section and click “Add product.” Enter the product title, description, and price. Be detailed in your descriptions, highlighting key features and benefits. Upload high-resolution images from multiple angles. Add variants if your product comes in different sizes or colors. It is also important to set the inventory quantity. If you are dropshipping, connect your supplier app here. Organize your products into collections to make navigation easier for customers. You can create automatic collections based on tags or manual collections for featured items. This structure helps customers find what they are looking for quickly, reducing bounce rates and increasing conversion potential.
Step 4: Configure Payments and Shipping
Navigate to “Settings” and select “Payments.” Activate Shopify Payments if available in your country, as it offers the lowest transaction fees. You can also add third-party gateways like PayPal for additional customer trust. Next, go to the “Shipping” tab within the same settings menu. Define your shipping zones and rates. You can offer free shipping for orders over a certain amount to encourage larger baskets. Create shipping profiles for different product types if needed. Ensure your rates are competitive and transparent. Hidden shipping costs are a major reason for cart abandonment. Clear communication about delivery times and costs builds trust with potential buyers.
Step 5: Final Checks and Launch
Before going live, test your entire checkout process using a test order. Verify that emails are sent correctly to customers and to your own inbox. Check all links and ensure your contact page is functional. Remove any dummy products or pages. Once you are confident, click the “Publish” button in your theme settings. Your store is now live! Share your new store on social media and start marketing. Monitor your analytics to see how visitors interact with your site. Make adjustments based on real data. Success comes from continuous improvement and customer feedback. Keep updating your content and optimizing your store for better performance.
FAQ
Q: How much does it cost to run a Shopify store?
A: Shopify starts at $29 per month for the Basic plan, plus transaction fees if you do not use Shopify Payments. There are also costs for themes and apps, but the core platform fee is the primary expense.
Q: Can I use my own domain name?
A: Yes, you can purchase
Leave a Reply