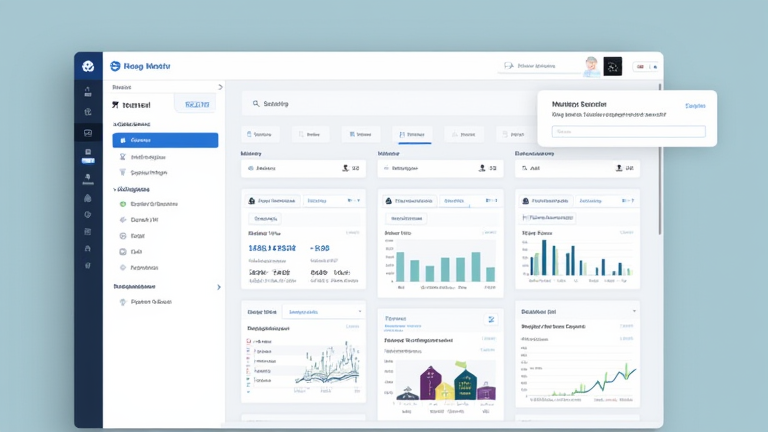
Notion: 10-Step Tutorial to Build Your First Project Dashboard
TL;DR: Create a new Notion page and add a database with specific properties to track tasks. Customize the view with filters and formulas to create an interactive, real-time project overview.
Step-by-Step Instructions
Step 1: Create a New Page. Start by clicking the “New Page” button in your sidebar. Name it “Project Dashboard” to keep it organized and easily accessible for your team.
If you want to dig deeper, check out our guide on Drinking Is at a 92-Year Low—But This Group Is Bucking the T.
Step 2: Add a Database. Type “/table” or “/board” to insert a database. Choose a Table view first for easy data entry, as it is the most efficient for setting up initial properties.
Step 3: Define Properties. Rename the default “Name” column to “Task Name.” Add key properties such as “Status” (Select), “Priority” (Select), “Due Date” (Date), and “Assignee” (People). These fields form the backbone of your tracking system.
Step 4: Set Up Status Options. Click on the “Status” property to add options like “To Do,” “In Progress,” and “Done.” Assign different colors to each to provide quick visual cues for team members scanning the dashboard.
Step 5: Insert a Board View. At the top of the database, click “Add View” and select “Board.” This Kanban-style view allows you to drag and drop tasks between status columns, providing an intuitive workflow overview.
Step 6: Add a Calendar View. Click “Add View” again and choose “Calendar.” Map the “Due Date” property to this view. This helps visualize deadlines and ensures no critical dates are overlooked during busy periods.
Step 7: Create a Formula for Urgency. Add a new property called “Urgency” and select “Formula.” Use a simple formula like `if(prop(“Due Date”) < now(), "Overdue", "On Track")` to automatically flag tasks that are past their deadline.
Step 8: Apply Filters. In your Table view, click “Filter” to hide completed tasks by default. This keeps the main view clean and focused on active work, reducing cognitive load for project managers.
Step 9: Customize the Header. Add a cover image and a brief description at the top of the page. Include links to related documents or meeting notes to centralize all project information in one location.
Step 10: Share and Collaborate. Click “Share” to invite team members. Set permissions based on roles, ensuring everyone has the right level of access to update and manage the project dashboard effectively.
Tips for Success
Keep your dashboard simple. Avoid adding too many views or properties initially; add complexity only when necessary. Use templates to speed up future dashboard creation, and regularly review your views to ensure they still align with your project’s evolving needs.
FAQ
Q: Can I use Notion for free?
A: Yes, Notion offers a free personal plan that is sufficient for individual project dashboards, though team features may have limits.
Q: How do I import data from Excel?
A: You can copy cells from Excel and paste them directly into a Notion database, or use the import feature in your Notion workspace settings for larger files.
Q: Is Notion secure for company data?
A: Yes, Notion uses encryption in transit and at rest, and it offers advanced security features like two-factor authentication for enterprise users.
Leave a Reply